How to Apply for a Japan Visa at The New Visa Application Center

Japan has long been a favorite destination among Filipino travelers. From its iconic neon-lit cities and breathtaking natural landmarks, there’s just so much to see, do, and discover there, making it the ideal travel destination no matter what the season.
Filipinos hoping to make their hanami (flower viewing) dreams come true this Sakura season should know about some changes in the visa application process.
Starting Apr. 7, travelers will need to process their Japan visas via the new Japan Visa Application Centre (JVAC), handled by VFS Global. These centers are located in five cities across the country, including Manila, Cebu, and Davao. This shift intends to make the application process more efficient, and ensure that more Filipinos will be able to make that Japan trip a reality without delays or stress.
Ready to explore the Land of the Rising Sun? Don’t be intimidated by the change, because we’re here to walk you through the process. Read on for a step-by-step guide on how to apply for your Japan visa today at the new JVAC.
STEP 1 – Identify Your Visa Type
Like in any travel documentation, it’s important to know the visa type your trip requires and to check whether you’re eligible for it. There are three types you can apply for via the new JVAC: Temporary Visitor (90 Days), Long Term Stay, and Temporary Visitor (Multiple Entry). Also, take note that the VFS will collect a service fee of P520 for each visa application.
If you’re planning on visiting for holiday or business purposes (without reward or pay), this is the visa type for you. Temporary Visitor visas for Philippine nationals are free of charge, and allow you to stay for a maximum of 90 days.
Required documentations vary depending on the purpose of the visit. You can find more information here. But for tourists, here are the documents that you’ll need:
- A valid passport
- Application Form (with 4.5×3.5 cm photo attached)
- PSA issued Birth Certificate, issued within a year
- PSA issued Marriage Certificate (for married applicants), issued within a year
- Trip Itinerary
- Bank Certificate (balance within the last six months must be shown)
- Tax Payment Certificate (Form 2316 for employees) - Business owners must also submit proof of actual payment in addition to the BIR Tax Payment Certificate Form (copies acceptable)
- Employment Certificate (for employees) - For business owners, Department of Trade and Industry (DTI) “Certificate of Business Name Registration” and Mayor’s Permit from the City Hall must be submitted
- School ID or Certificate of Enrollment in School (for students)
Some additional requirements:
- If for any reason other than being a retiree, full-time housewife, or unemployed, you're unable to submit documents 6 and 7, you must submit a letter of explanation.
- Document 3 is unnecessary if you have been granted a Japan visa before.
- If a guarantor in the Philippines will shoulder all or a part of your expenses, a Guarantee Letter, Proof of relationship between applicant and guarantor, Bank Certificate, Tax Payment Certificate, and Employment Certificate must also be submitted.
Photo Specifications:
- Your photo should have been taken no more than six months before the application time and should be a colored photo with a plain background.
- The size is 45x35 mm and should clearly show your face.
If you’re applying for a multiple-entry visa, you also need to submit proof that you’re a frequent traveler with financial capacity, and the Request Form for a Multiple-Entry Visa. In addition to that, used Japan visas and landing permissions, as well as visas from G7 countries in the last three years, should also be submitted.
STEP 2 – Start Your Application
Once you’ve confirmed your visa type, it’s time to complete the application form. You can download them here.
Make sure to include all the information needed. It’s recommended to accomplish it in typewritten form for legibility, but if you’re doing it handwritten, make sure to write in print or block letters. Surnames should be capitalized, and boxes should be ticked with an “x.” For more tips on filling up the form, click here.
Once finished, print the form and attach your photo on the upper right side. Bring this form along with the other required documents to your chosen visa application center.
STEP 3 – Find a Center and Book Your Appointment
The first step is to create your VFS account here. This will grant you access to their booking portal. On the form, you’ll be asked to input details like your full name, nationality, contact number, passport number, appointment category (visa type), and preferred visa center. You can choose from any of the five cities below. All of the centers are open on weekdays from 7 AM to 4 PM, and accept cash, credit cards, and debit cards as modes of payment.
- Makati City: Ground Floor, Makati Circuit Corporate Center Tower Two, AP. Reyes St. Brgy Carmona, Theater Drive Circuit, Makati City, 1207
- Quezon City: Level 3 Gateway Tower Mall Araneta City Quezon City 0810
- Parañaque City: Level 3, Parqal Mall, Building 5, Diokno Avenue corner Macapagal Boulevard, Paranaque City, Barangay Tambo, Postal Code- 1701, Metro Manila
- Cebu City: Unit 9, 7th floor Faustina Center, Bonifacio District, Cabahug St. Kasambagan, Cebu City, 6000
- Davao City: FES -09 , Second Floor, Alfresco Are, Felcris Centrale, Quimpo Boulevard, Barangay 40 – D, Davao 8000
Once you’ve filled in the necessary details, simply choose a date and time slot for your appointment. It’s important to note that applications only run until noon, so all appointment slots are in the mornings.
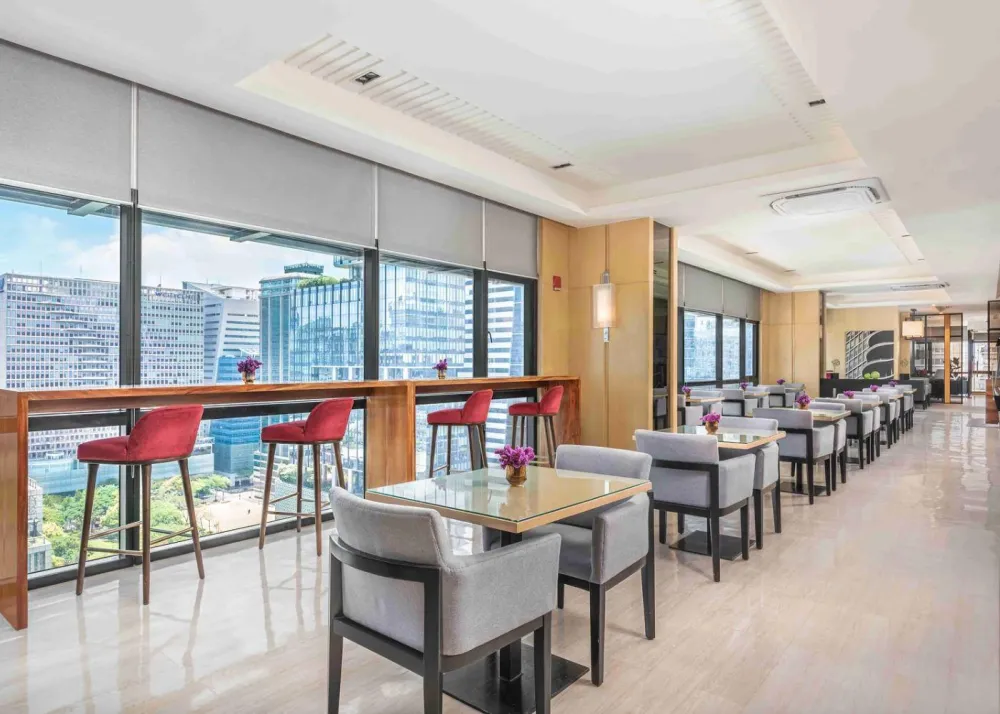
You can also add additional services to your booking, such as courier delivery for your passport (P370), Application tracking via SMS (P150), form-filling aid (P150), and visa ID photography (P180). There’s also premium lounge access for P1,500, which can make your visit more convenient as this includes beverages, a dedicated visa processing aid, a separate waiting room, and priority access.
Once you’ve confirmed your appointment, you can opt to pay for everything online or pay on-site on the day of your appointment. You will then receive an appointment confirmation email along with the letter of appointment, which you’ll need to print out and bring on the day. If you’re booking as a family or group, you will have to book individual appointments for each member.
STEP 4 – Submit Your Application On Site
Yes, you will need to submit your application in person at the visa application center of your choice. It’s advisable to be at your designated application center at least 15 minutes before your scheduled time to prevent delays and allow ample time for security checks, as well as allowances for last-minute changes.
Make sure to bring your original passport, your visa application form, and all the necessary documents (both original and photocopies). If you’ve availed of additional services and paid online, bring the receipt. The P520 service fee will also have to be paid on-site, so make sure to have cash on you.
Your biometric information will be collected during your visit, so expect to undergo a fingerprint scan and headshot as part of your application. It’s advisable to dress appropriately and confidently on the day. Since they will be taking your photo, don’t wear too much jewelry or heavy makeup. You also cannot wear sunglasses or head coverings unless these are worn for religious or ethical reasons.
Staff will be there to assist you through the process. Once you’ve finished, you’ll be given a receipt that contains your reference number along with your date of birth. You can use this information to track your application online. You will also receive an update in your registered email once a decision has been made about your application. You may also receive updates via SMS for an additional fee.
How long does it take?
Once you’re application forms, documents, and biometric information have been collected, your application is considered submitted and is subject to the embassy’s wait times, which may vary depending on your visa type.
Assuming there are no issues with the documents and application, the processing time typically takes a minimum of six days from the day the application is received.
However, if the volume of submissions is high, it may take longer. It’s advised that you file your visas well in advance.
STEP 5 – Collect Your Passport
Once a decision has been made, you can pick up your passports at the JVAC if you didn’t avail the courier service. Pick-up times are usually in the afternoon and last until 4 PM. You will also need to bring a valid government ID.
If someone else is picking it up for you, a letter of authorization will be required, as well as a copy of your valid ID.
Some Tips
- Create a checklist. To avoid forgetting anything, make a checklist. Organize the documents based on the order mentioned in Step 1. An official from the center will be checking your documents prior to your entry, and this makes it easier for them to sift through the papers. Don’t staple your documents and keep everything in a clear envelope carrier for easier access.
- Map your route and come early. Traffic doesn’t choose hours now, so it’s best to anticipate that your travel times may take longer than what Waze or Google Maps estimates. Look up parking spots beforehand if you're bringing a car, or map out your commute route in advance to avoid getting lost or delayed on your journey.
- Prepare copies in advance. Although there are photocopy machines at the center, they will most likely be crowded. Don’t wait till the last minute to make copies of your documents.
- Take a photo of your receipts. After everything has been submitted, take a snap of your invoice for backup.
FAQs
I want to go to Japan. Do I need a visa?
Philippine passport holders or nationals are required to apply for a visa to be allowed entry into the country. If you hold a different passport, you can check this list to confirm if you need to apply.
Is there an interview?
There is no interview. Your visit to the JVAC is mainly for submitting the application and biometric information collection.
How early should I apply for a visa?
As processing times vary, we advise starting your application within one to two months of your departure date. This allows you ample time to gather all the necessary documents and anticipate any delays with the embassy.
My visa application was denied. Can I get a reason?
Unfortunately, it is a common rule followed by the Ministry of Foreign Affairs and diplomatic missions that the center cannot provide specific reasons for visa rejection.
For more information and inquiries, visit the VFS Global official website or contact them via email at info.japanphp@vfshelpline.com
Get the latest curated content with The Beat Asia's newsletters. Sign up now for a weekly dose of the best stories, events, and deals delivered straight to your inbox. Don't miss out! Click here to subscribe.


